
Archive for March 2011
How to Grow and Prune Japanese Maples the Right Way
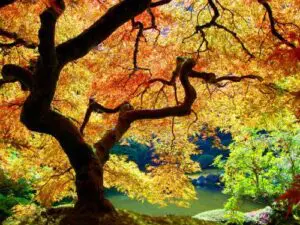
Because of their delicate appearance, Japanese maples may seem difficult to care for. In truth, they don’t need much — just well-drained moist soil and some protection from afternoon sun.
To some, pruning Japanese maples can seem an art form. But really, it doesn’t take much expertise – only a good pair of pruning shears and some patience.
Moss Control in the Northwest: How to Manage Moss in Lawns and on Roofs
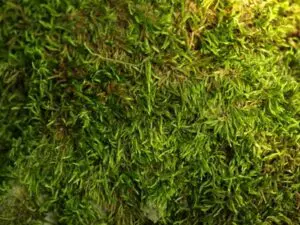
Options for controlling moss in lawns and rooftops in the Pacific Northwest.
Read MoreSave Water and Time with Smart Irrigation Technology

Conserving water through smart irrigation technology using smart irrigation controllers with weather-based programming and rotating spray nozzles.
Read More